


Blog
Custom Bobbleheads: Step-by-Step Guide on How They Are Made
If you’re thinking of a fun, quirky, and personalised gift, you should consider having a custom bobblehead made. Almost everyone loves an awesome looking bobblehead and what’s even better is if it’s a mini version of themselves.
Bobbleheads are perfect gifts because you can put them almost anywhere! You can place them on your car’s dashboard so you have a little tiny you accompanying you on your drive or you can put one on your desk to spice up your work area. Wherever you decide to put it, it will definitely bring a smile or laugh to anyone who sees it.
If you’ve ever wondered how these bobbleheads are made, you’ve come to the right place. Below is the step-by-step process of how bobbleheads are made. Let’s get to it!
Step 1: Choose an image
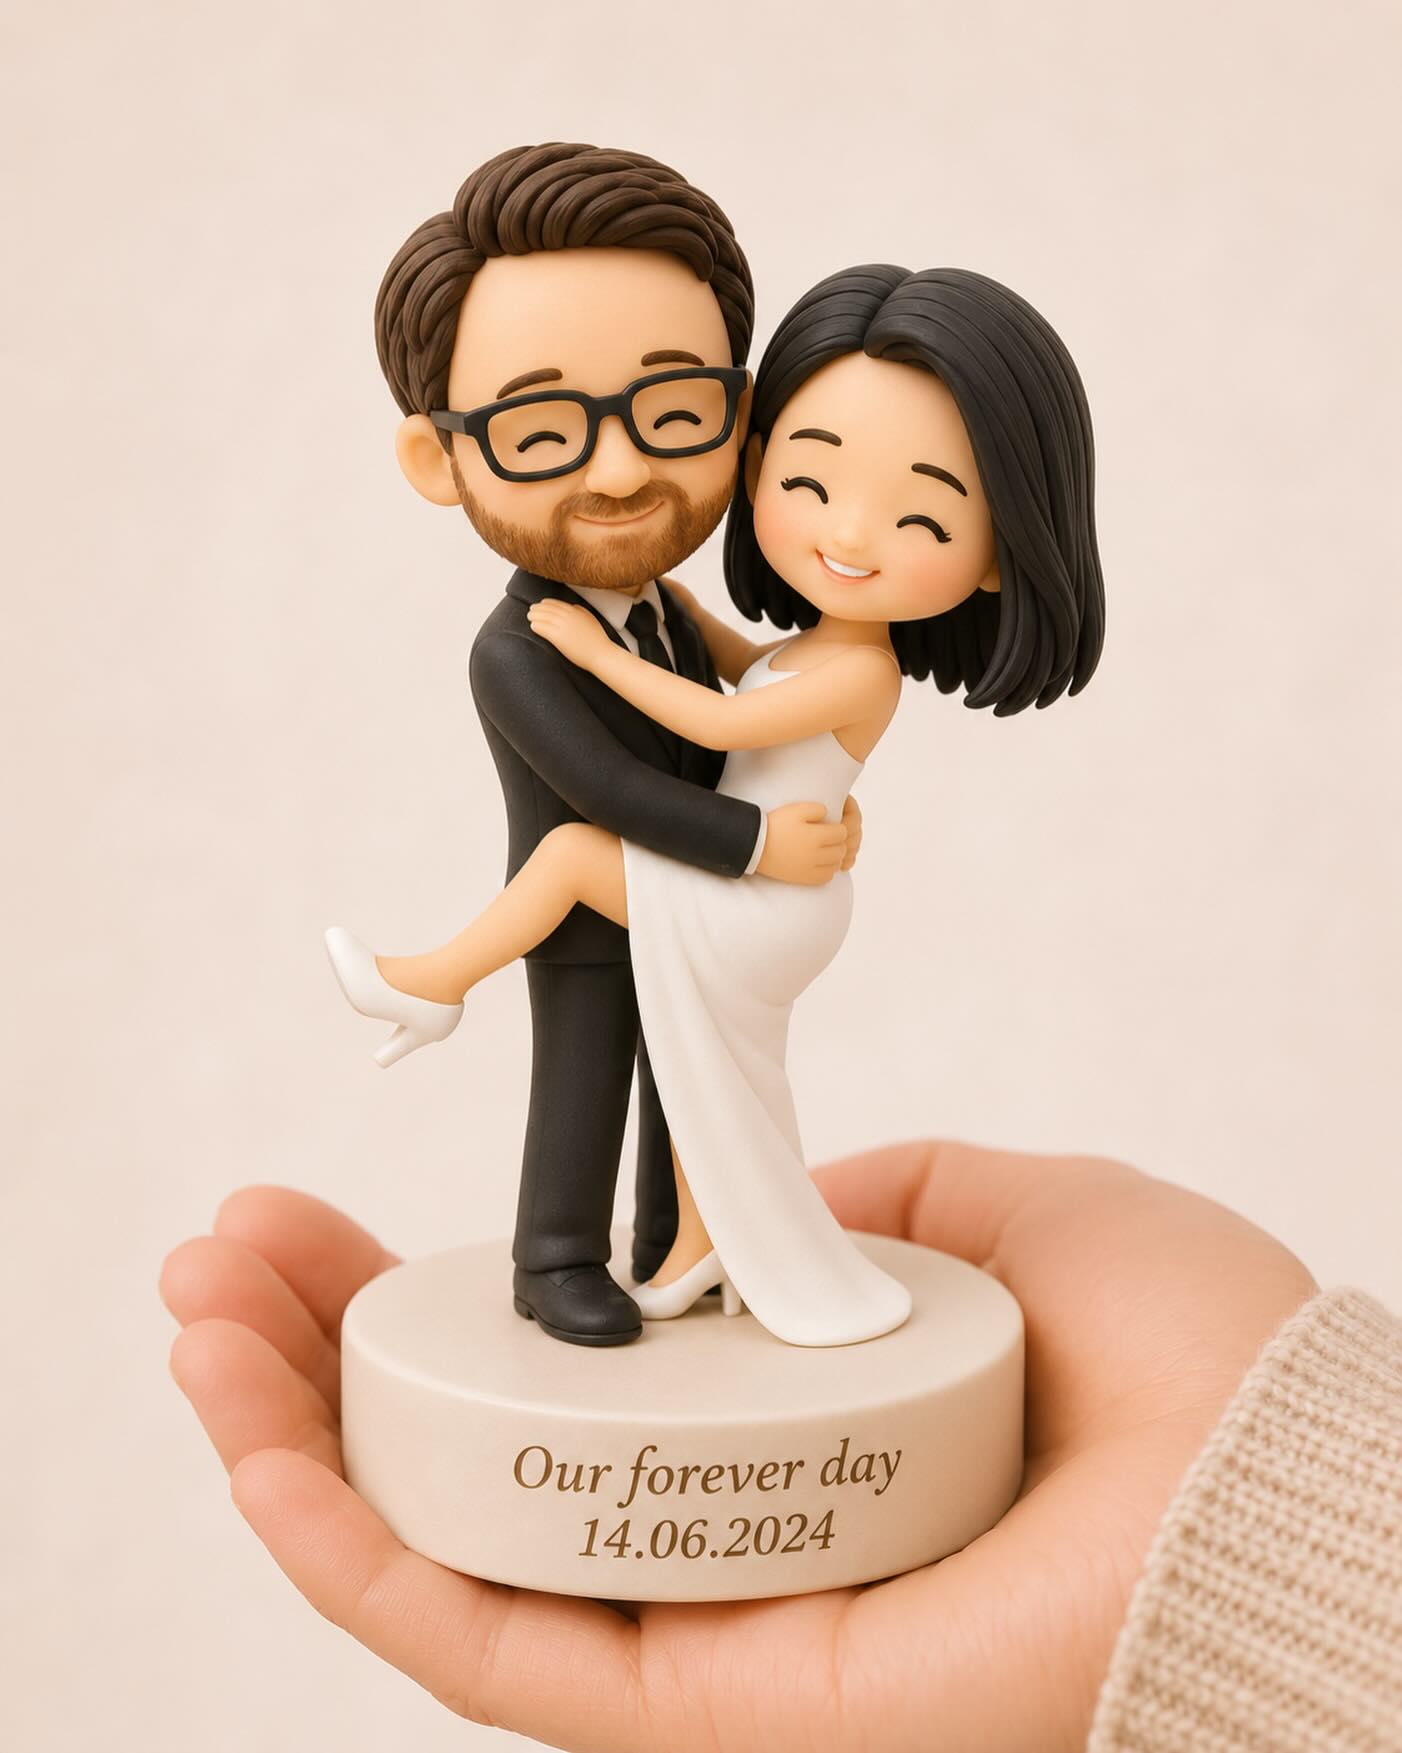
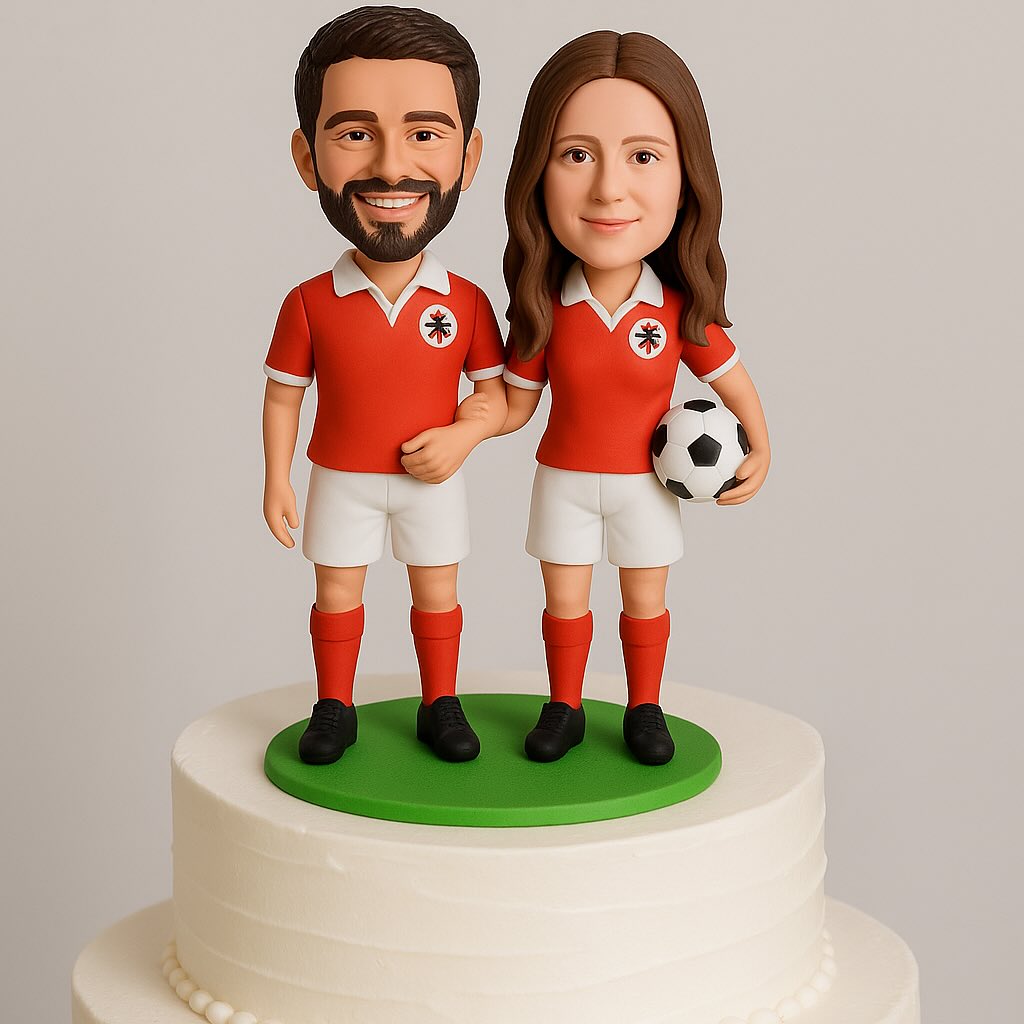
The essential step in creating custom bobbleheads is choosing the image you would want to turn into a bobblehead doll. This image could be a picture of yourself, a friend, or a loved one. Some couples even get bobbleheads made to use as a wedding cake topper!
Ideally, you want to give a clear and large photo so that it’s easier for the artist to create the bobblehead. If you’re going to get all the details, it’s best to give several angles and photos, such as the profiles and close-up beauty marks on the face.
Step 2: Create the mould
After you give the artist the image that they will use, they’ll then transfer it into a mould and create a 3D rendering of the head and face. At MinifyMe, our artists use polymer clay, a certified non-toxic product, since it is sturdy and could be intricately moulded.
Our artists will then invest time to carefully and skillfully replicate the image that you’ve provided and will use only the best tools and techniques to create the bobblehead that you wish.
Step 3: Consultation with the customer and approval
Once the artist has completed the mould, they will then send you proof and schedule a consultation with you should you need any edits in the mould before letting it go through the final stages of production.
After the customer has approved the mould, the artist will then cast the mould of the bobblehead. You should remember that you might not be able to make bigger changes with the head during the construction once you’ve given your approval. However, you can still request body styles and painting changes, but the head shape and structure will remain the same.
Step 4: Painting and assembly
Now that the cast is complete and the body has been attached, the artist will then begin to flex their artistic skills and carefully and meticulously paint your bobblehead doll.
Once the artist has completed painting the head and body parts, they will then assemble the doll. The head is attached to the hollow body and to make it wobble. The reason you need to connect the head onto a hollow body is so that the head’s weight and anchor system could work, allowing the head to “bobble.”
Step 5: Packed and shipped
Now that your bobblehead doll is ready and complete and has been tested, it is then mailed straight to you – and since customer satisfaction is paramount, each bobblehead is made into perfection and has true likeness, ensuring that you get the doll you envisioned.
Conclusion
Creating a custom bobblehead is a customer and artist collaboration. From the first step of the production process until the doll is shipped to you, the artist makes sure that they get every detail and request that you provided. And once you have the bobblehead doll with you, we can guarantee that you’ll have a massive smile on your face!
If you’re thinking of getting custom bobbleheads made, look no further. Here at MinifyMe, we create unique and impressive figurines of everyday people, allowing you to experience the delight that comes with seeing yourself on a figurine. Design your own bobblehead today!